In this tutorial you will learn how to
Beginner
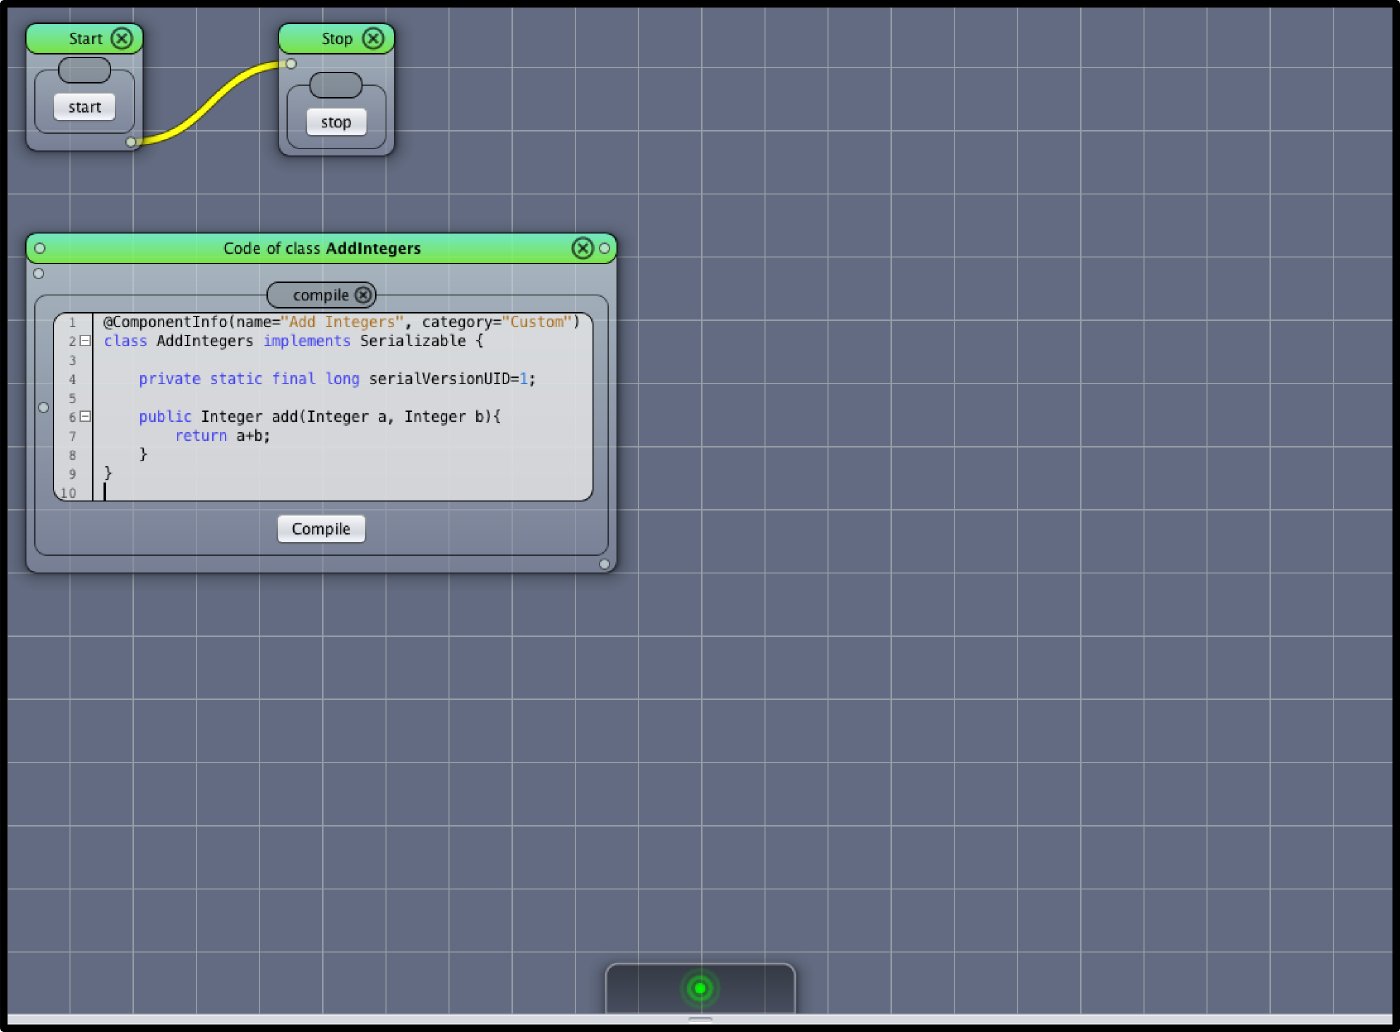
Cancel.File->New-Project from Template->VRL-Tutorial-1The displayed content should look like this:

First, create the component Add Integers by pressing the compile button. Open the Manage Components window and add the Add Integers component from the Custom category to the canvas.
Note: compiling a component class implicitly creates a new version.
Click on File->Save Project save the current state of the project. This creates a new version.
Note: if you save the project without making any changes VRL will not create a new version as it detects that the project has not been changed. Hence, the number of versions may differ from the number of times you saved the project.
Tip: to create a version that contains a custom message click on
File->Save Project (with message). As versions are searchable you can define custom keywords with makes it easy to switch to specific project states.
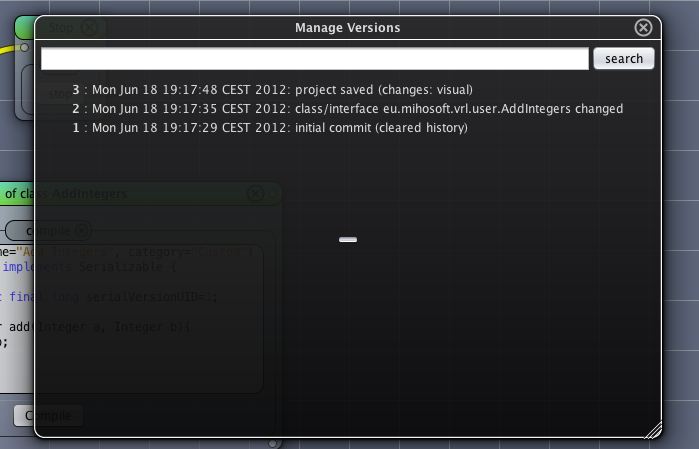
Click on File->Manage Versions to open the Version Management window. It should show three versions as shown in Figure Version Management

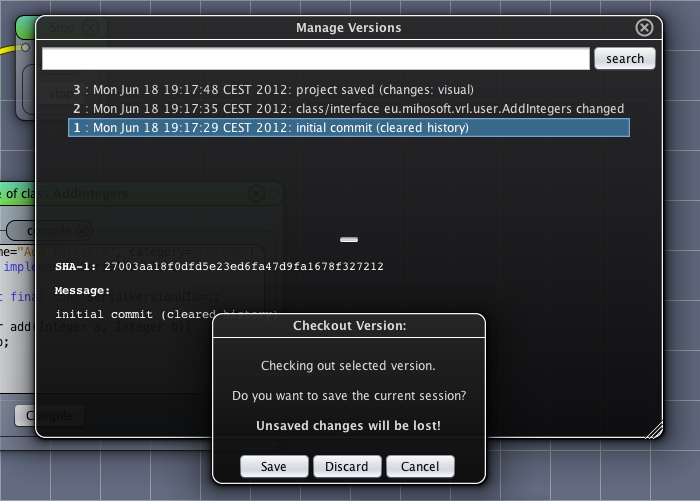
Now switch to version 1 by double clicking on it. VRL-Studio will now ask whether to save the current project state before switching.

As you have just saved the project, press Discard in the Checkout Version dialog. The project state is exactly as in version 1. The Add Integers component has vanished.
Now open the Version Management window and switch back to version 3 by double clicking on it. In the Checkout Version dialog press Discard. After that, the Add Integers component is visible again.
As you have seen in the previous sections, VRL creates version messages automatically. They indicate what has been changed since the last version. This is great as you don’t have to care about versioning most of the time. You can search messages by date or by the name of the component that has been added or deleted, etc.
But sometimes it is necessary to define custom messages, e.g., for detailed explanations and short tags, such as feature xy implemented. This allows you to search for feature xy and switch to the corresponding version.
To define custom messages, save the project by clicking on File->Save Project (with message). After the project has been saved, VRL-Studio will show a message dialog that allows to define a custom message.
–