In this tutorial you will learn to:
NetBeans -> File -> New Project… -> Categories: java; Projects: Java Application -> Next -> Project Name: (for example: Test-VRL-Tutorial-Plugin–01); Create Main Class: (for example: edu.gcsc.vrl.tutorial.TestTutorialComponent01) -> Finish
In Projects: Plugin–01 -> Libraries: right mouse click -> Add Project… -> VRL - dist/VRL.jar -> OK.
Important is in Project Properties: Source JDK 1.6;
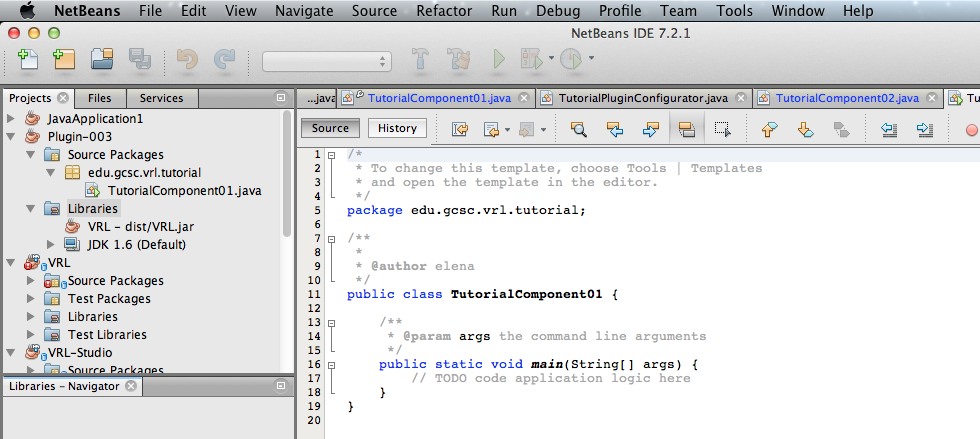
We open TestTutorialComponent01.java and write:
package edu.gcsc.vrl.tutorial;

import eu.mihosoft.vrl.annotation.ComponentInfo;
import java.io.Serializable;

@ComponentInfo(name="TestTutorialComponent01",
        category="TestTutorialPlugin/01",
        description="My Component")

public class TestTutorialComponent01 implements Serializable{


    private static final long serialVersionUID = 1L;


    public String doSomething() {
        return "Congratulations! "
                + "Your new project works!";
    }
}
Then we create TutorialPluginConfigurator.java and copy the code:
Finish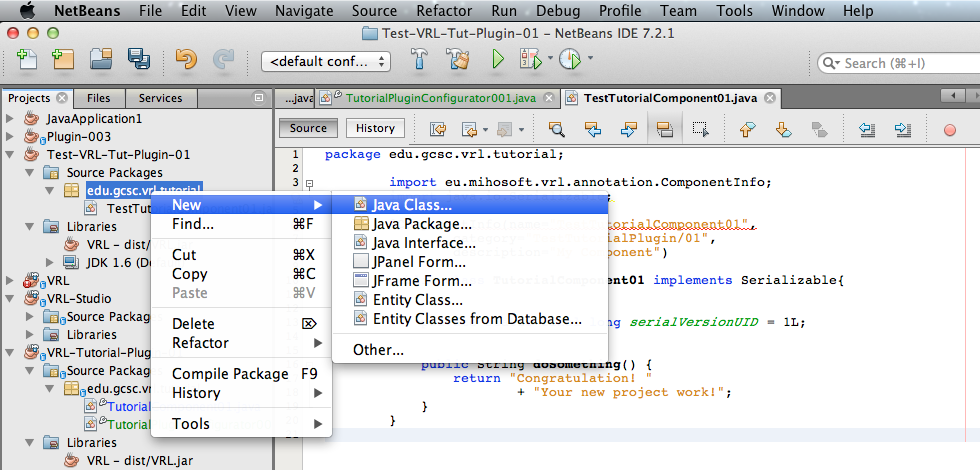
package edu.gcsc.vrl.tutorial;

import eu.mihosoft.vrl.system.InitPluginAPI;
import eu.mihosoft.vrl.system.PluginAPI;
import eu.mihosoft.vrl.system.PluginIdentifier;
import eu.mihosoft.vrl.system.VPluginAPI;
import eu.mihosoft.vrl.system.VPluginConfigurator;

/**
*
* @author Michael Hoffer <info@michaelhoffer.de>
*/

public class TestTutorialPluginConfigurator extends VPluginConfigurator{

public TestTutorialPluginConfigurator() {
    //specify the plugin name and version
   setIdentifier(new PluginIdentifier("TestTutorial-Plugin01", "0.1"));

   // describe the plugin
   setDescription("Plugin Description");

   // copyright info
   setCopyrightInfo("Sample-Plugin",
           "(c) Your Name",
           "www.you.com", "License Name", "License Text...");
}

@Override
public void register(PluginAPI api) {

   // register plugin with canvas
   if (api instanceof VPluginAPI) {
       VPluginAPI vapi = (VPluginAPI) api;
       vapi.addComponent(TutorialComponent01.class);
       }
}

@Override
public void unregister(PluginAPI api) {
   // nothing to unregister
}

@Override
public void init(InitPluginAPI iApi) {
   // nothing to init
  }
}
Test-VRL-Tutorial-Plugin–01 -> Build;
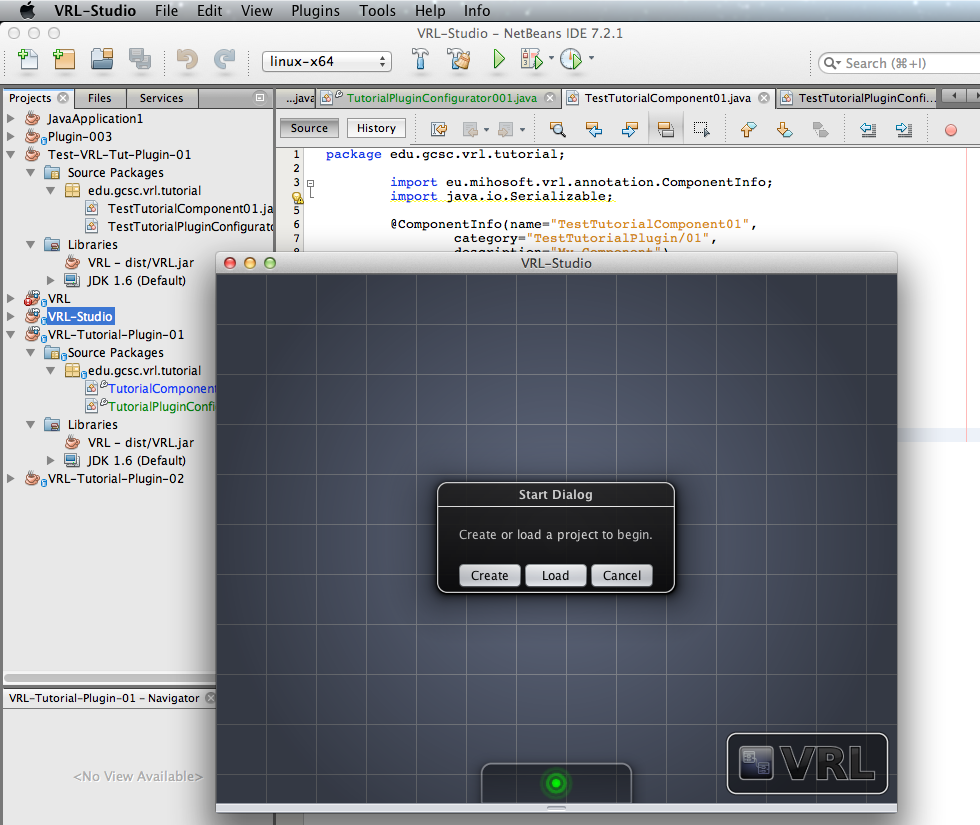
VRL-Studion -> Run
Create your new project
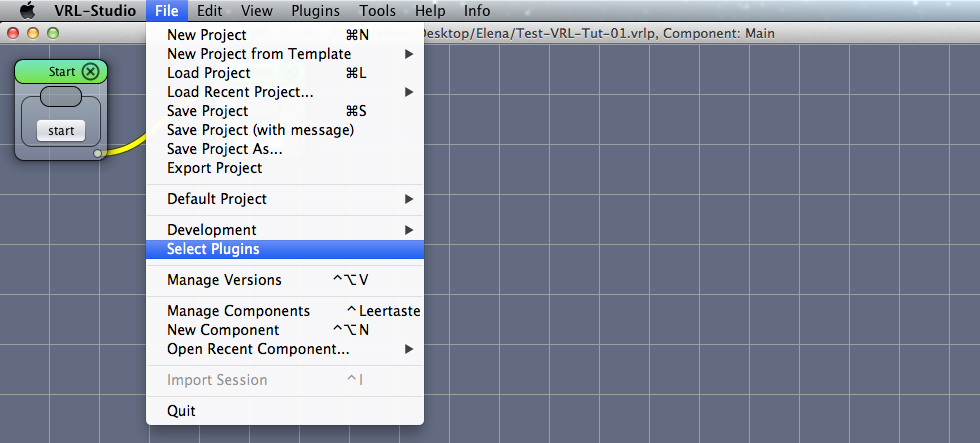
(select the plugins you need) -> OK
(right mouse-click in VRL) -> Manage Components
Now you have your new Plugin in “Manage Components” -> Components -> TestTutorialPlugin -> 01 -> TestTutorialComponent01;
pull your new plugin “TutorialComponent01” into development area and click invoke;
you will get your text in the plugin: “Congratulations! Your new project works!”

That means that your plugin works! ;)
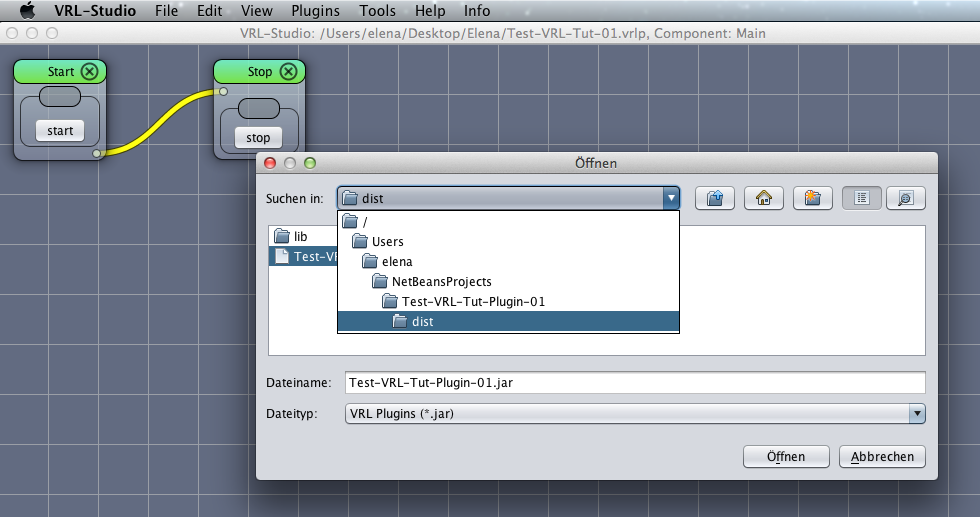
To export your whole VRL-Project (with plugins):
Yes -> FileName.vrlp -> Save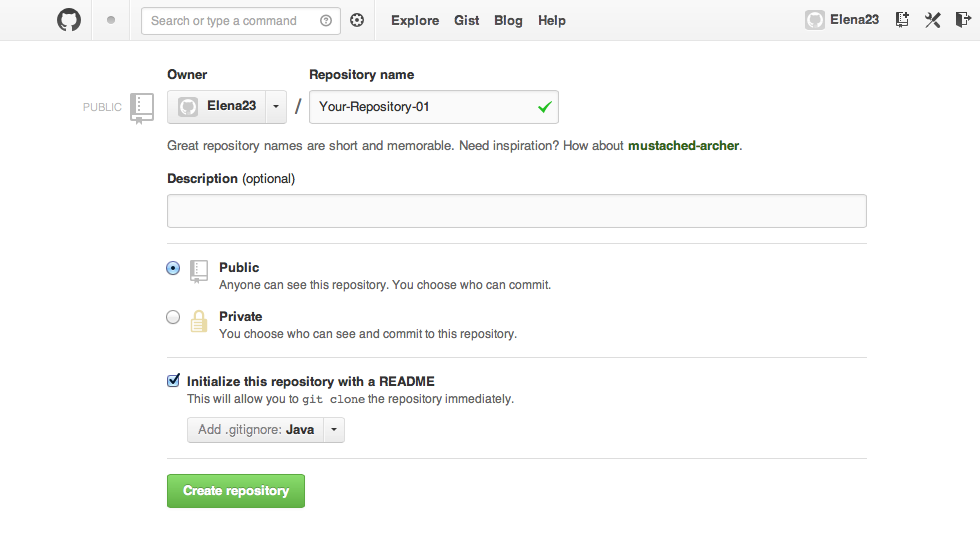
->Create repository
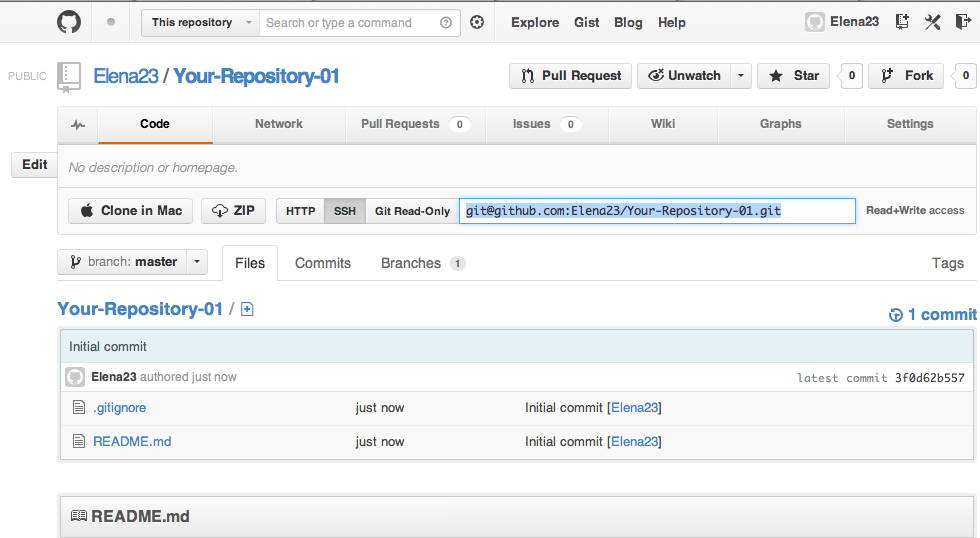
copy the git-adress (for git remote add …):
Open the Terminal on your computer and write the address of your project in NetBeans, for example:
cd NetBeansProjects/Test-VRL-Tut-Plugin-01
// it means that you go to the directory where your plugin is located, you can see the address in NetBeans in Project Properties;
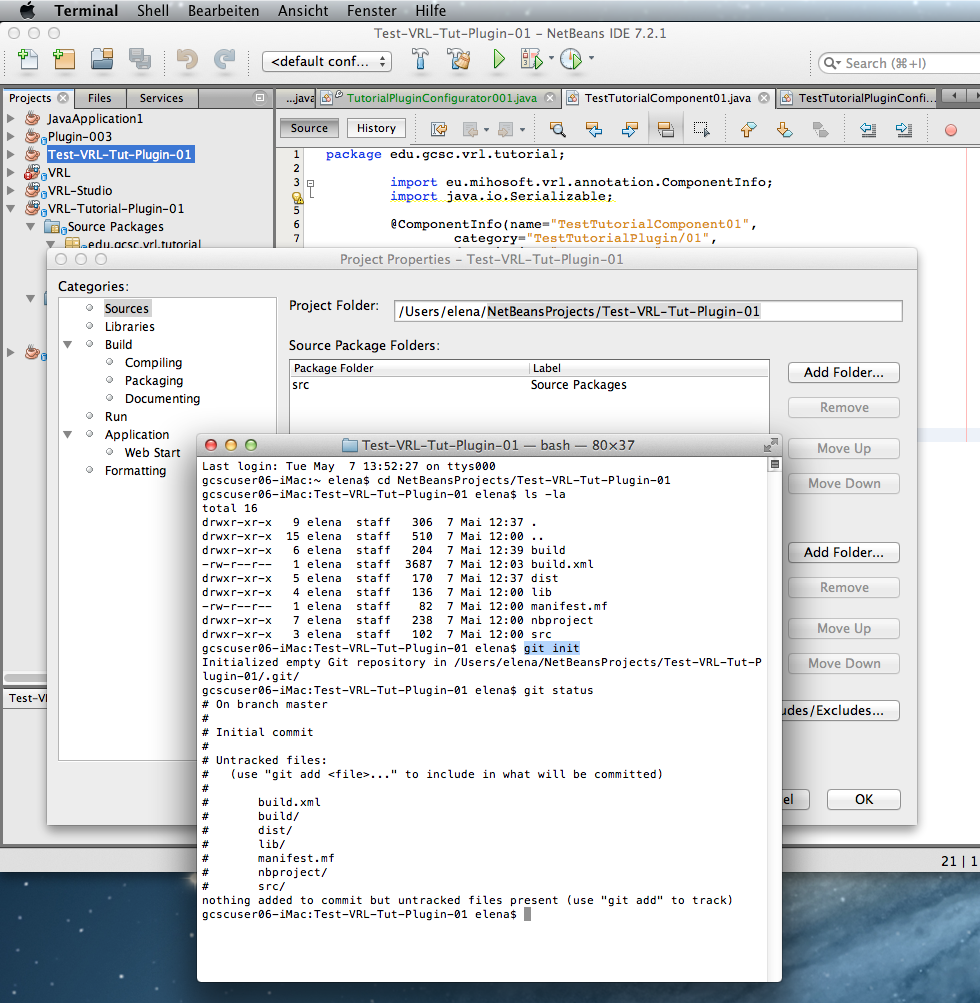
git init
// it means that you Initialise Git-Repository local;
    git add .
    git commit -a -m "your commentar"
    git remote set-url origin git@github.com:Elena23/Test-VRL-Tut-Plugin-01.git
    git push -u origin master
// Initialize a new git repository local, then stage all the files in the directory, then commit the initial snapshot and finally push it into GitHub branch master;
This commands can help you:
cd ../
// to back out one level out of the current directory;
ls -la
// it shows all files in this directory;
git status
// it shows the status;
man git
// this is Git Manual
//Click ‘q’ to get out of Manual;
For other Git-Commands look here:
Git Cheat Sheet